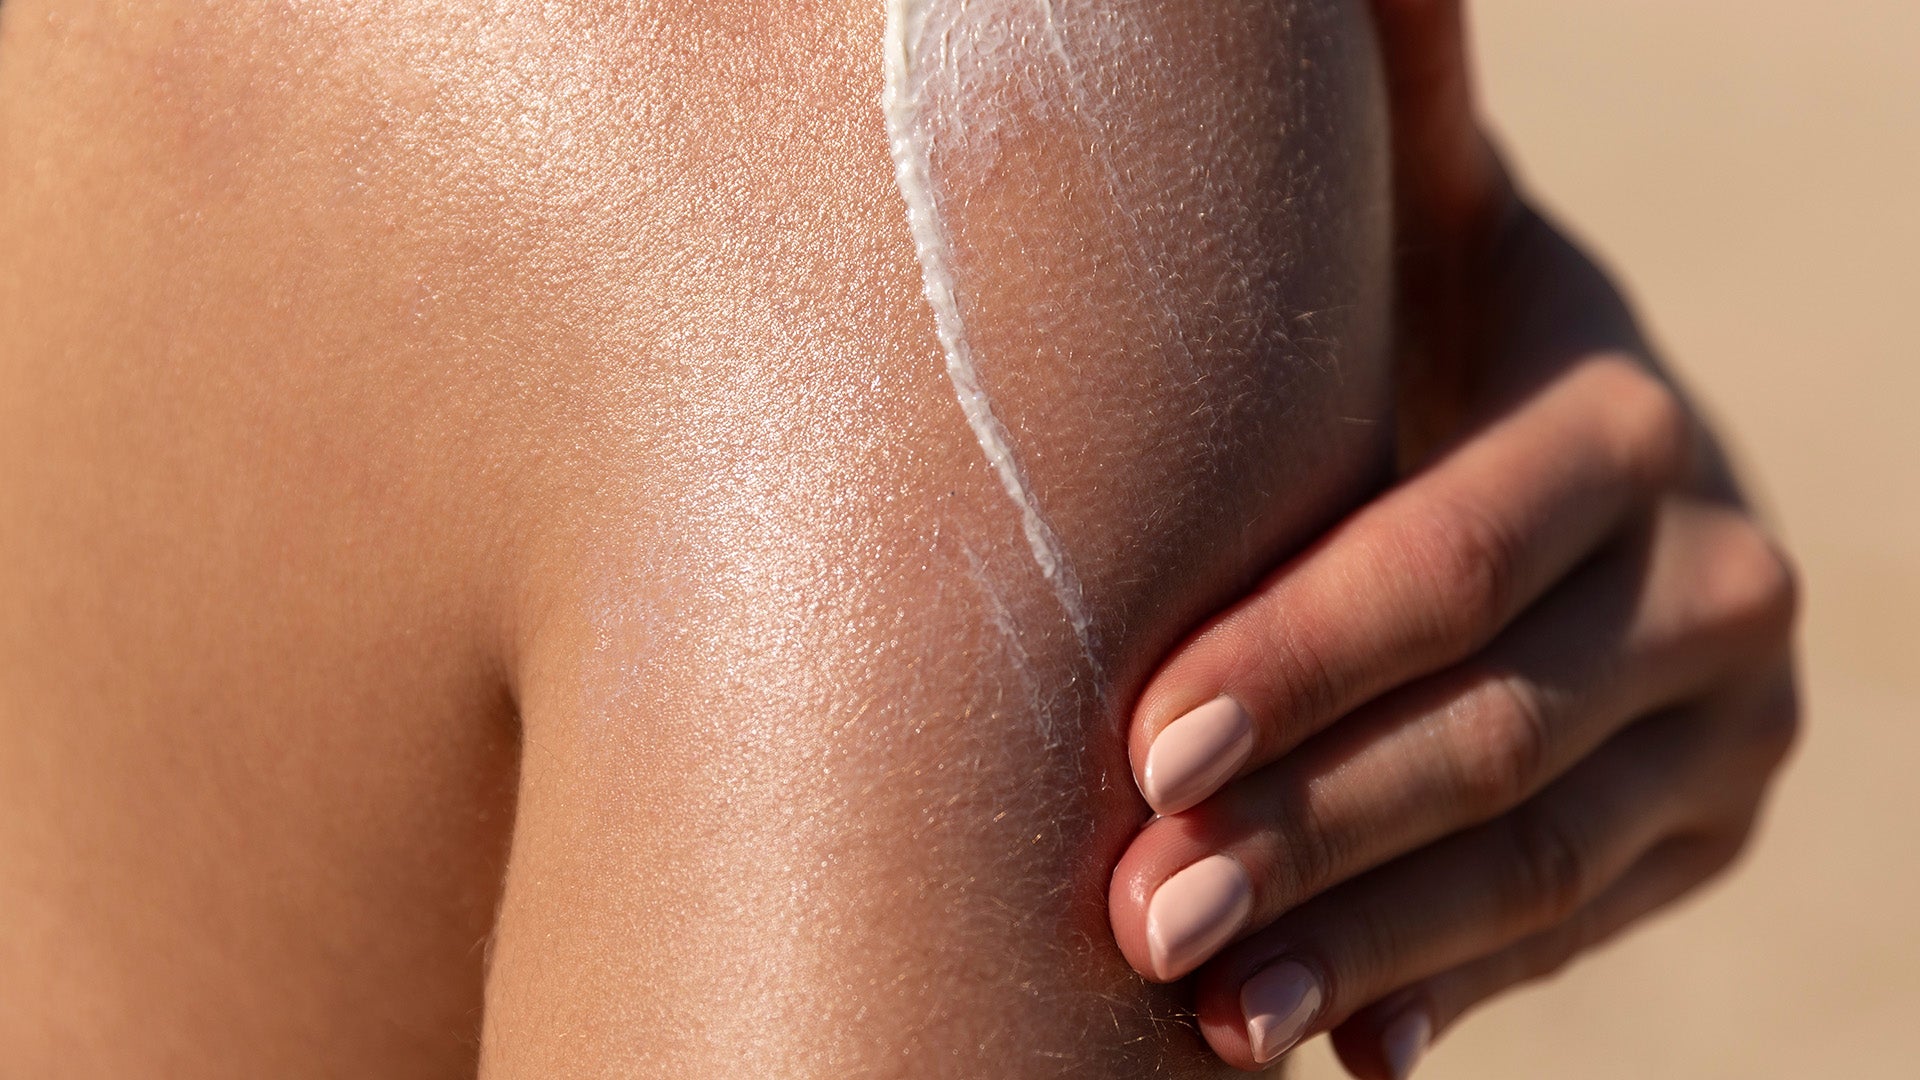
Summer and a sun-kissed tan go hand in hand, even if you don’t live along the coast. But the sun can be damaging to your skin and can cause premature ageing.
Thankfully, it doesn’t have to be that way. Sunless tanning products can help you achieve a bronzed body, without the dangers of baking in the sun – so you can have glowing skin all year round.
Here’s the top six tips you need to get your best sunless tan ever:
1. Go with the right glow
The first step is choosing the right self-tanning product for your skin.
Sunless tanning options include sprays, mousses and lotions. Tanning lotions are the most hydrating, and can be applied to clean skin like a regular moisturiser. Lotions also tend to offer more even coverage, layering well for dramatic effect.
2. Wax on, wax off
Hair removal is next on your pre-tan checklist. Wax or shave well before application (around 24 hours prior), to provide less hair resistance for tan absorption. This also minimises the chance of accidentally nicking colour away with your razor.
3. Smooth operator
The golden rule of sunless tanning: smooth skin equals self-tan success. Pamper yourself by taking the time to prepare and nourish your skin for a flawless tan.
Showering prior to application washes away excess oil, while an exfoliation glove helps buff away dead skin cells (or remnants of a previous tan). This ensures the best base for a fresh application – smooth, soft skin.
Make sure to moisturise rough patches, like the wrists, elbows, knees, ankles, feet and hairline, as an uneven surface can result in a patchy, streaky tan.
4. Clever handiwork
It’s easy to create a natural shade across your entire body, including the palms of your hands. Avoid orange-tinted palms or residue beneath your fingernails by using latex gloves when applying your sunless tan.
To apply tanning lotion to the back of your hands, use a cotton wool ball with a small amount of product. A helpful tip – add a little body moisturiser to blend product into your wrists and fingers to avoid streaking. This also applies for any smudges or mistakes.
Generally speaking, acrylic nails or gel manicures and pedicures won’t be affected by self-tans. However, to be on the safe side, wipe your nails after each application as this will prevent contact stains.
5. Work from the bottom up
The best time to start the tanning process is 30 minutes after showering, when your skin is most absorbent. A handy trick is to finish your shower with a short burst of cold water to shrink pores – this maximises even coverage.
Apply the first layer of sunless tan, starting from the feet and ankles, and work your way back up. Don’t forget to apply to your back and neck. Self-tans can discolour your hair and eyebrows, so protect your hairline with a barrier cream if you’re applying tanner to your face. Again, mix with a small amount of moisturiser for an even application.
Any leftover product should be used for the back of your hands and feet, making sure to blend well at the wrists and ankles to avoid a ‘tanning sleeve’.
6. Skin care
The best way to prolong your summer glow is with effective skin aftercare.
Unless you’re using an express formula, avoid showering for at least 10-12 hours, and wear loose clothing to allow the tanner to absorb.
When showering after a tan, don’t worry about the colour washing away. The cosmetic bronzer will wash off to reveal a gorgeous, sun-kissed tan.
Apply moisturising cream after your first shower and continue moisturising daily to extend the longevity of your tan.
And drink plenty of water to hydrate your skin for a glow that lasts all year round.
You don’t need to spend a fortune in a tanning salon to get a sun-kissed tan this summer. Simply follow our six tips and get the glow you’ve always wanted.
Shop the Story: Sun Specialist Sunless Tanner

GO WITH THE GLOW – HOW TO GET YOUR BEST SUNLESS TAN EVER
by
Tharlya Crompton
in
Wellbeing Journal


